
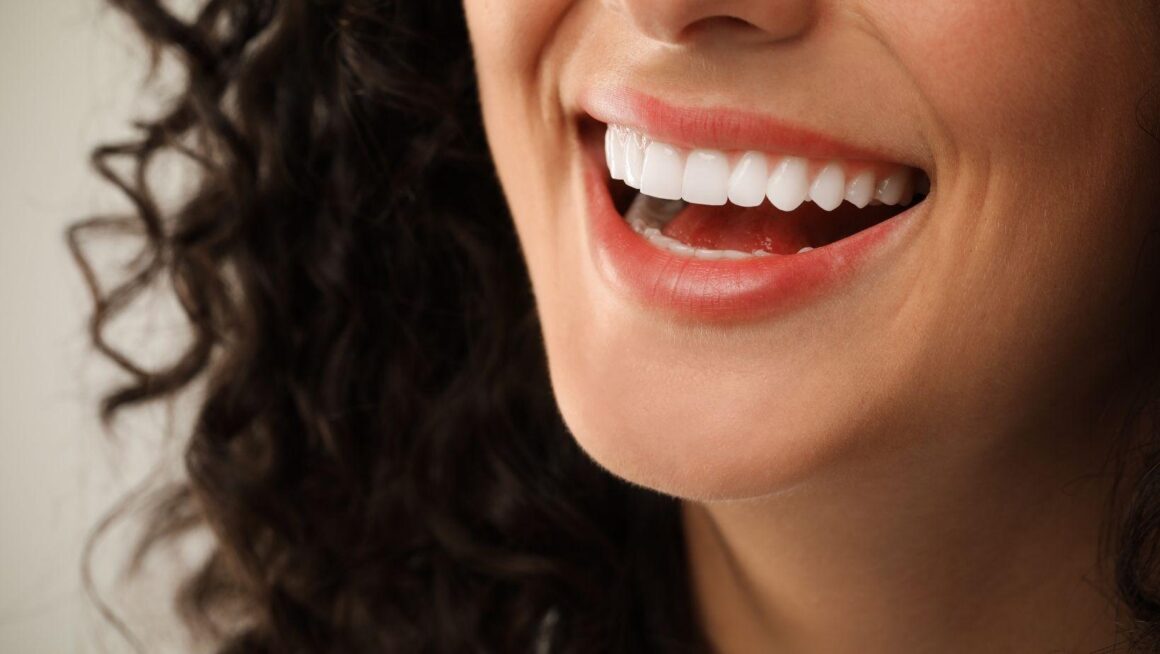
When you choose a veneer or crown, matching its color to your natural teeth requires more than selecting a shade from a chart. Your dentist assesses brightness, translucency, surface texture, and the surrounding teeth to create a balanced result. A skilled cosmetic dentist in Evansville, IN will walk you through this shade-matching process to make sure the final restoration blends naturally with your smile.
Your dentist combines visual shade guides, digital tools, clinical lighting, and laboratory communication to design a veneer or crown that blends with your smile. The process also considers the color beneath the restoration, your gum health, existing stains, and how the material may respond to light over time.
Foundations Of Natural Tooth Color
Natural tooth color depends on more than a simple white-to-yellow scale. Your dentist evaluates shade, translucency, surface texture, and surrounding teeth so a veneer or crown reflects light in a way that fits your smile.
Understanding Shade Dimensions
Dentists usually assess tooth shade through three dimensions:
Your dentist compares these features with a standardized shade guide or a digital spectrophotometer. They usually perform the assessment before preparation because dehydration can make enamel appear temporarily lighter and less translucent.
Lighting also affects how color looks. Dentists may check your teeth under controlled lighting and consider your surrounding teeth, skin tone, lip color, and the shade of any existing restorations.
If you plan to whiten your natural teeth, complete whitening first and allow the shade to stabilize before selecting the final veneer or crown color.
Assessing Tooth Translucency And Texture
Enamel does not appear uniformly opaque. It allows some light to pass through, while the underlying dentin contributes much of the tooth’s warmer color.
A restoration that matches only the basic shade may still look artificial if it lacks the correct level of translucency. Your dentist examines translucent edges, subtle internal color changes, developmental marks, and the transition between enamel and dentin.
The laboratory can reproduce these features with layered porcelain, ceramic materials, or carefully applied staining and glazing. Surface texture also influences brightness.
Fine ridges and grooves scatter light, while a smooth, highly polished surface reflects it more directly. Your dentist matches the restoration’s texture, contour, and gloss to nearby teeth, especially when treating a front tooth where small differences remain visible.
Clinical Shade Selection Process
Your dentist assesses color, brightness, translucency, and surface texture rather than choosing a shade from a chart alone. Controlled lighting and an examination of your surrounding teeth help create a restoration that suits your smile in different viewing conditions.
Using Shade Guides Under Controlled Lighting
Your dentist first removes surface stains, keeps the teeth hydrated, and examines them before prolonged treatment dries the enamel. Dehydrated teeth can appear temporarily lighter, which may lead to an inaccurate selection.
Shade guides provide standardized tabs for comparing hue, value (brightness), and chroma (color intensity). Your dentist holds the tabs close to the tooth without touching it and compares them quickly.
Neutral surroundings and balanced daylight or color-corrected clinical lighting reduce the effect of yellow, blue, or overly bright room light. The dentist may use digital photography, a spectrophotometer, or another electronic shade-measuring device to support the visual assessment.
These tools help record color consistently, but they do not replace clinical judgment because veneers and crowns also interact with the underlying tooth, cement, and restoration material.
Evaluating Surrounding Teeth And Smile Position
Your dentist compares the planned restoration with the teeth beside it and with the opposing teeth visible when you speak or smile. Front teeth often show several color zones: a lighter or more translucent edge, a stronger central body color, and greater warmth near the gumline.
A crown or veneer may need layered translucency and subtle internal effects to reproduce these features. Your smile position also affects the decision.
If the tooth appears only slightly when you smile, the dentist may prioritize a close match to nearby teeth. If several visible teeth will receive veneers, the dentist may select a coordinated shade for the group rather than match one tooth individually.
Tell your dentist about planned whitening before shade selection. Whitening changes natural teeth but not existing crowns or veneers, so the restoration should be designed for the shade you expect to maintain.
Your dentist may also show you photographs or temporary mock-ups before final fabrication.
Digital Tools And Laboratory Communication
Accurate color matching depends on consistent records, controlled viewing conditions, and clear communication between you, your dentist, and the dental laboratory. Digital images and detailed laboratory instructions help the technician reproduce your teeth’s color, translucency, surface texture, and natural variations.
Digital Photography And Color Measurement
Your dentist may take high-quality photographs of your teeth before preparing the veneer or crown. These images show features that a shade guide alone may miss, such as lighter edges, darker areas near the gumline, white marks, translucency, and surface texture.
The dentist should use neutral lighting, consistent camera settings, and a shade tab in the image to give the laboratory a reliable reference. Some practices also use a digital shade-measuring device, such as a spectrophotometer.
The device analyzes reflected light and records color characteristics more objectively than visual selection alone. However, the dentist still needs to assess factors such as tooth shape, lighting, and surrounding teeth.
Your final shade may also depend on the ceramic material, the color of the underlying tooth, and the cement used beneath a veneer.
Creating Custom Ceramic Characterization
The laboratory can use your photographs, digital shade readings, and written instructions to customize the restoration. The technician may layer different ceramic materials or apply controlled stains and glazes to reproduce subtle features, including cervical warmth, incisal translucency, faint lines, and uneven color distribution.
Your dentist and technician should specify the material, shade target, preparation color, and desired surface texture. A custom shade appointment may allow the technician to evaluate your teeth directly, particularly when one front restoration must match adjacent natural teeth.
Before final cementation, your dentist can place the restoration without adhesive and check its color under suitable lighting. This try-in stage allows adjustments to the shade or translucency before the restoration becomes permanent.
Factors That Affect Long-Term Color Harmony
Your final shade depends on the color of your natural teeth at the time your dentist matches the restoration. Future whitening, staining, enamel changes, and oral hygiene can affect how well a veneer or crown continues to blend.
Whitening Before Final Restoration Placement
If you may want professional whitening, complete it before your dentist records the final shade. Whitening changes natural enamel but does not lighten porcelain or ceramic veneers and crowns.
Matching the restoration before whitening can leave it looking darker than the surrounding teeth afterward. Your dentist may recommend waiting several days to a couple of weeks after whitening before selecting the final shade.
This allows temporary dehydration and short-term color changes to settle. During this period, avoid starting additional whitening without consulting your dentist, because excessive treatment can increase sensitivity and make shade selection less predictable.
Tell your dentist about existing restorations and your preferred brightness. If you need a crown or veneer on only one tooth, the dentist may use a custom shade evaluation, photographs, or a digital device to assess shade, value, and translucency under controlled lighting.
Maintaining Color With Oral Care And Professional Cleaning
Porcelain and many ceramic restorations resist discoloration, but the edges and exposed natural teeth can still collect plaque or stains.
Brush twice daily with a soft-bristled toothbrush and fluoride toothpaste. Clean between your teeth every day.
Ask your dentist which products are suitable if you have sensitive gums or exposed restoration margins.
Limit frequent exposure to coffee, tea, red wine, tobacco, and strongly pigmented foods.
Rinsing with water after these items can reduce contact with the teeth.
Avoid abrasive whitening toothpaste unless your dentist recommends it, since it may wear natural enamel or roughen certain restorative surfaces.
Attend regular dental examinations and professional cleanings.
Your hygienist can remove deposits that brushing misses and check for gum recession, bonding changes, chips, or staining around the restoration.
Ask your dentist before using whitening products, as they may not change the restoration’s color.