
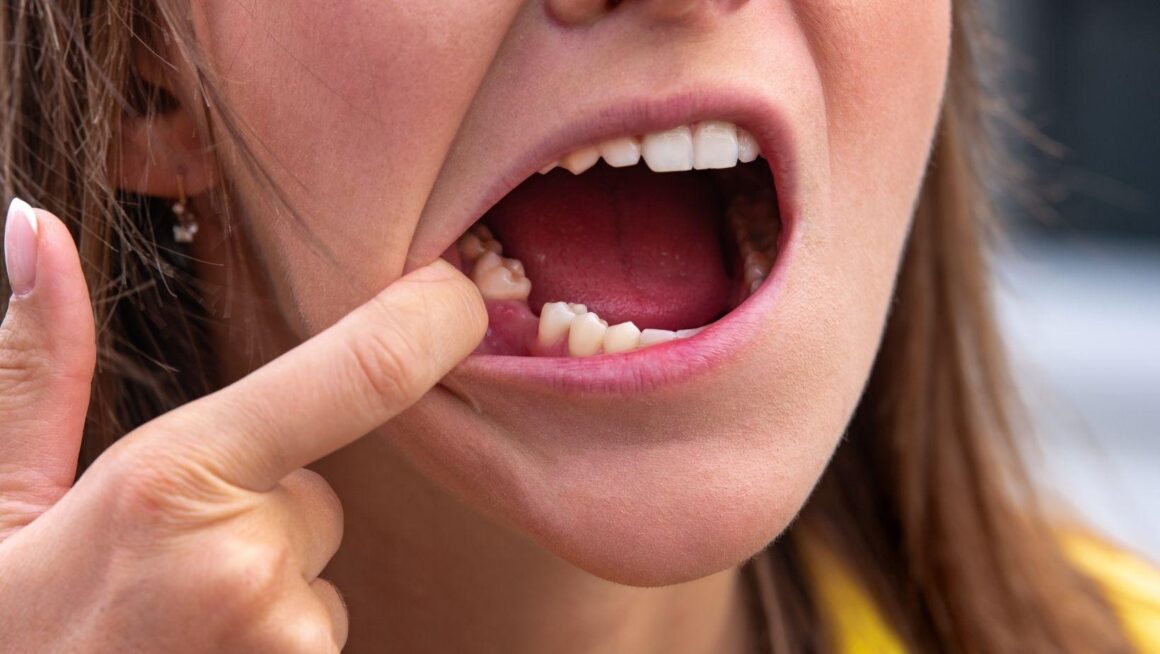
A missing tooth can leave you wondering whether you will have a visible gap throughout implant treatment. The answer depends on the tooth's location, your healing needs, and your dentist's treatment plan. This is a common concern for patients getting a tooth implant in Chula Vista, California, especially when the missing tooth is in a visible area of the smile.
You may receive a temporary tooth replacement, such as a flipper, Essix retainer, or temporary bridge, while the implant heals. In some cases, your dentist may leave the space open to protect the surgical site and support proper healing.
Your dentist will explain what to expect during healing. They will also explain how to care for any temporary replacement and when the final crown or restoration can be placed.
Why the Space Is Usually Left Alone
The open space gives the implant and surrounding tissues room to heal without pressure or friction. Bone grafting can preserve the site when needed, while a carefully designed temporary tooth can protect your appearance without disturbing the implant.
Bone Grafting and Site Preservation
After tooth removal, the bone supporting the tooth can gradually shrink because it no longer receives normal stimulation from a tooth root. Your dentist may place a bone graft in the socket to help maintain its width and height during healing.
A membrane may cover the graft and keep soft tissue from growing into the area. A graft does not usually support immediate chewing.
Your dentist may therefore leave the space open or provide a removable temporary tooth, depending on the location and stability of the site. The grafted area needs time to form and mature before implant placement or the next stage of treatment.
Follow instructions about brushing, rinsing, smoking, and diet. Contact your dentist if you develop increasing pain, swelling, bleeding, fever, or notice graft material coming out.
Protecting the Healing Implant Area
The implant needs stable contact with the surrounding bone. Pressure from chewing, a tight temporary appliance, or repeated contact from your tongue can interfere with healing, especially during the early weeks.
For this reason, your dentist may leave the space open rather than attach a temporary tooth directly to the implant. If appearance matters, you may receive a removable temporary tooth, flipper, or bonded tooth attached to nearby teeth.
It should not press on the surgical site. Your dentist may adjust or remove it during follow-up visits to check healing and maintain proper hygiene.
Avoid chewing hard or sticky foods on that side until your dentist allows it. Keep the area clean with the recommended toothbrush, rinse, or irrigation method, but do not probe the site or apply pressure to the implant.
Temporary Tooth Replacement Options
You can temporarily fill the gap with a removable Essix retainer, a flipper denture, or a temporary bridge. Your dentist will choose based on the tooth’s location, your gum healing, implant stability, bite, and whether you need a removable or fixed option.
Essix Retainers
An Essix retainer is a clear, thin plastic tray that fits over your teeth and includes a tooth-colored replacement tooth. It provides a discreet appearance while your implant site heals, especially when you need to replace a front tooth.
You can remove it for eating and cleaning. Wear it only as directed because pressure from the tray or replacement tooth could irritate healing tissue or interfere with the implant if the appliance does not fit properly.
Your dentist may adjust or remake it as swelling changes. Clean the retainer with cool water and a soft toothbrush.
Avoid hot water, which can distort the plastic. An Essix retainer usually works best when you need appearance rather than strong chewing support.
Flipper Dentures
A flipper is a lightweight, removable partial denture made from acrylic. It uses small extensions that rest around nearby teeth and supports one or more artificial teeth over the gap.
You can take it out for meals and cleaning, but it may feel less stable than a fixed appliance. Avoid chewing hard or sticky foods with it, particularly near the surgical site.
Follow your dentist’s instructions about when to insert it after implant placement or extraction. Rinse the flipper after eating and brush it gently with a denture brush.
Store it in water or denture solution when you remove it, unless your dentist gives different instructions. Contact your dentist if it causes soreness, loosens suddenly, or presses on the implant area.
Temporary Bridges
A temporary bridge replaces the missing tooth with an artificial tooth attached to neighboring teeth or, in some cases, supported by an implant component. A fixed bridge stays in place, while a removable temporary bridge can be taken out for cleaning.
Your dentist may use a temporary bridge when you need more stability than a flipper provides or when the gap affects chewing. The bridge must not place harmful pressure on a healing implant, so your dentist may limit its contact with opposing teeth.
Brush around the bridge and clean beneath it with floss threaders or an interdental cleaner if your dentist approves. Avoid hard, chewy foods that could loosen or fracture the temporary restoration.
Report movement, pain, swelling, or a change in your bite promptly.
What to Expect During the Healing Period
The gap may remain visible while the implant bonds with your jawbone. Your dentist can often provide a temporary tooth.
You may also notice short-term changes in speech, chewing, and cleaning routines as the surgical area heals.
Changes in Appearance and Speech
Your dentist may fit a temporary crown, flipper, or removable partial denture to cover the gap during healing. The best option depends on the implant’s location, your bite, and whether pressure could disturb the implant.
If the implant sits in a highly visible area, your dentist may provide a temporary tooth soon after surgery, sometimes on the same day. A temporary tooth can improve your smile, but it may not look or feel identical to the final crown.
You might notice slight changes in pronunciation, particularly with “s,” “f,” or “th” sounds. Speaking aloud can help you adjust, while your dentist can modify the temporary appliance if it feels loose, uncomfortable, or affects your bite.
Do not attach an over-the-counter replacement tooth directly to the implant site without professional guidance. Avoid placing pressure on the healing area, especially during the early weeks.
Eating and Oral Hygiene Adjustments
For the first few days, choose soft foods such as yogurt, eggs, pasta, soup that has cooled, and mashed vegetables. Chew on the opposite side and avoid hard, sticky, crunchy, or chewy foods that could irritate the surgical site or press against a temporary tooth.
Follow your dentist’s cleaning instructions carefully. You may need to avoid brushing directly over the area at first, then clean it gently with a soft-bristled toothbrush as healing progresses.
Your dentist may also recommend salt-water rinses or a prescribed antimicrobial rinse. Do not vigorously swish, spit forcefully, or use water flossers near the site unless your dental team approves.
Keep removable temporary teeth clean, but remove them only as instructed. Contact your dentist if you develop worsening pain, swelling, bleeding, fever, a loose temporary tooth, or a change in how your teeth meet.
When the Final Restoration Is Placed
Your implant must first bond securely with your jawbone, a process called osseointegration. After healing, your dentist checks the implant, shapes the gum tissue, and places the final crown, bridge, or denture so it fits comfortably and functions properly.
Osseointegration Timeline
Osseointegration commonly takes three to seven months, although your timeline depends on bone quality, implant location, overall health, and whether you needed bone grafting. During this period, the implant remains beneath the gum or supports a carefully designed temporary restoration.
Your dentist monitors healing through examinations and, when needed, dental X-rays. The implant must remain stable before it receives normal chewing pressure.
Follow your care instructions, keep the area clean, and avoid biting hard foods directly on a temporary tooth. Smoking can interfere with healing and may increase the risk of implant complications.
Contact your dental office if you develop worsening pain, swelling, drainage, fever, or movement around the implant. These symptoms require assessment rather than waiting for the scheduled restoration appointment.
Final Crown Placement
Once the implant has integrated, your dentist exposes it if necessary and attaches an abutment, which connects the implant to the restoration.
Your dentist may first place a healing cap to shape the gum, then take digital scans or impressions of your teeth and bite.
A dental laboratory uses these records to make your permanent crown.
At the placement visit, your dentist checks the crown’s color, shape, contact with nearby teeth, and bite before securing it to the abutment.
Your dentist may screw it into the implant or cement it, depending on the treatment plan.
Mild gum tenderness can occur briefly, but persistent discomfort, a loose crown, or a bite that feels uneven requires a dental adjustment.